Genie Garage Door Opener Troubleshooting: troubleshooting & repair
If your Genie garage door opener is causing issues, you might feel frustrated and eager to fix it swiftly. Genie, a top-notch global manufacturer, excels in creating user-friendly garage door openers. Common problems with Genie openers include:
In this content, I’ll guide you through troubleshooting common issues with Genie garage door openers. Whether you’re a homeowner or a first-timer like me, I’ll simplify the process to help you diagnose and fix problems.
Why Garrage door Opener not working?
A Garrage door opener not working due to many internal glitches and overall faulty parts of it. Here I’ve includded the top 5 Issues with a Garrage door below:
1.Troubleshooting sensors
2.Troubleshooting remotes
3.Troubleshooting wall consoles
4.Troubleshooting the mechanical systems
5.Troubleshooting power and opener internals
Troubleshooting of Garage Door Sensor Issues
A garage door sensor issues are commonly caused by the following reasons
- Dirty sensor lenses
- Misaligned sensors
- Normal wear and tear
- Faulty Power Supply
- Damaged Wires
- Sunlight exposure
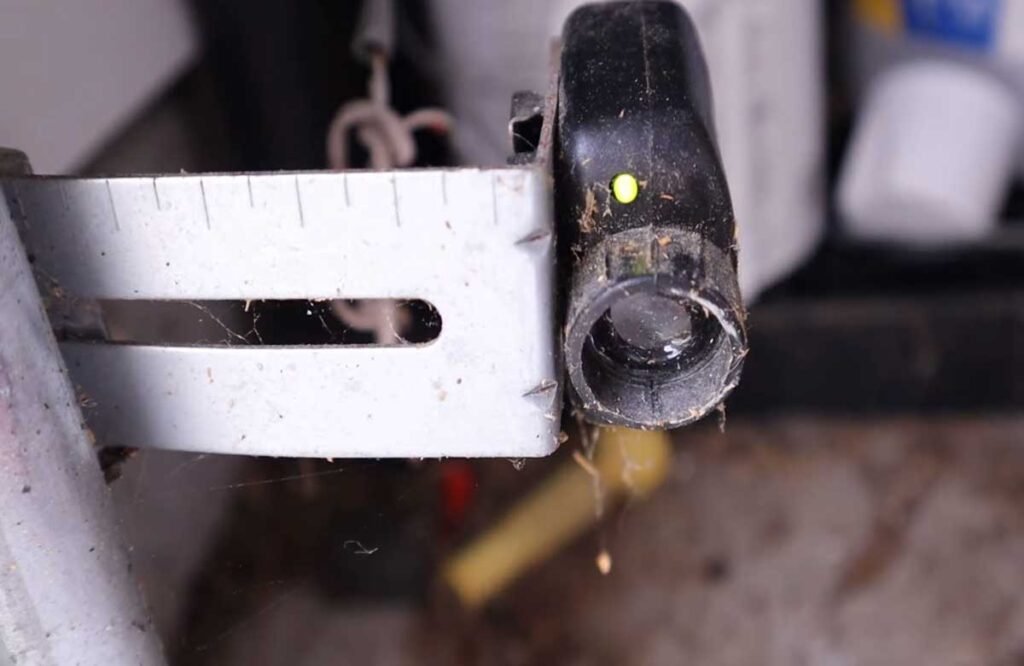
Dirty sensor lenses
Often water, dirt, and pollution can cloud the lenses.
A simple cleaning with a soft and some alcohol should be able to clean the sensor.
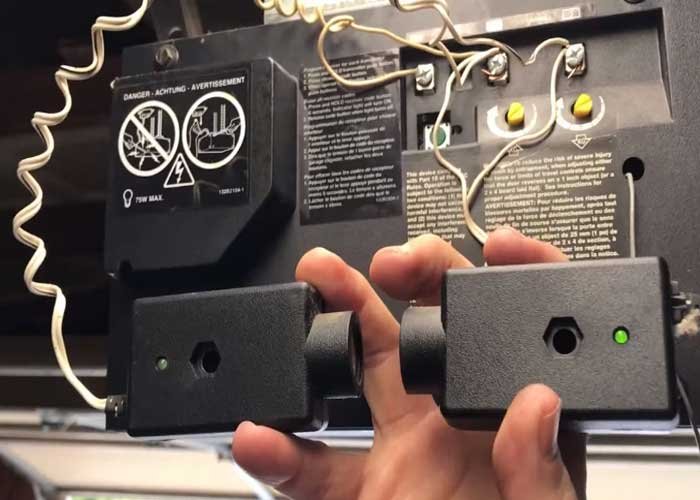
Misaligned Sensors
If your garage door sensors act up, it could be because they’re not aiming at each other correctly, causing problems with the beam. Look for blinking green lights when closing the door!
But if there’s a red light or no light, they need adjusting.
To fix this, visually check and make sure both sensors are at the same height. Most sensors have an adjustable screw. Adjust the sensor brackets until both sensors point directly at each other. Move them until the lights blink green. If needed, loosen screws. Once they aim at each other and a little light comes on, you’re all set!
Damaged Wires
Check for damaged wires related to the sensors. The electrical wires connect the sensors to power, and issues like insect damage, weather-related wear, and tear can affect them.
Look for visible connection problems in the cables. Repairing any broken wires is likely to solve the sensor problems you’re facing. Examine the cables that link the sensor to the opener with care. If they’re twisted, untangle them to make sure the connection is correct. To avoid electrical hazards you should call on an expert.
Faulty Power Supply
Your garage door might not work due to various reasons, and one could be a lack of power. Use sensor lights as a simple way to check if there’s enough power. If the green light is on, power is good.
Before testing the door, ensure the cable is connected. If power is the issue and it’s restored, the door should close. Don’t forget that a blown fuse can also make the sensors stop working. If the fuse blows, have a specialist replace it and check the wiring.
Wear And Tear
- Check if your sensor is showing signs of regular wear and tear, especially after many years of use.
- Genie garage door sensors typically endure 4 to 5 years of usage, often even longer, necessitating only occasional repairs rather than a complete replacement.
Sunlight exposure
Sunlight, like the mentioned “obstructions,” can affect signal transmission for your garage door sensor. It might mistakenly believe something is blocking it from the sun, even when there’s no real obstruction.
Experts suggest switching sensor sides—move the sending eye to the opposite side if it’s on the left, and vice versa. If the issue persists, consider installing sun shields to cover your garage door sensors.
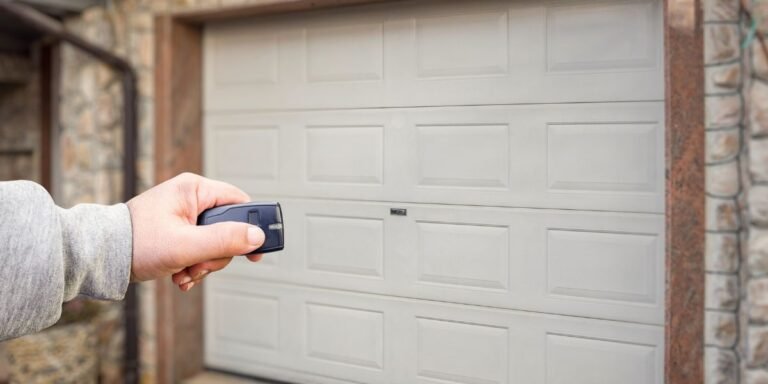
Why is the remote for my garage door not working?
Remote not working of a Garage door due to the following reasons
- Frequent dropping
- Low-level Batteries
- Remote signal is too weak
- Lock button kept on accidentally
- LED bulb interference with remote:
- The antenna position set up
Frequent dropping:
Frequent dropping from hand can cause your remote damage. It’s one of the most common reasons why the remote doesn’t work properly.
Solution: To fix this, a damaged unit just needs to be replaced. Mostly ,the only solution is to replace it.
Low-level Batteries
Low batteries are one of the main reasons a remote won’t work. Make sure you use the right sized battery
(A23-12 volt), and you can find this info in the manual.
Solution: Replace the old batteries with new ones.
Remote signal is too weak
Make sure you’re close enough to the door opener when using the remote; being more far than the suggested distance can cause the remote unable to open the garage door.
Solution: Check if the opener’s antenna is in good condition, without damage or debris, to ensure a strong signal to your remote. About two to three car lengths (less than 25 feet) should be the maximum distance that a portable remote control can operate from the garage. Check your user manual for the recommended distance.
Lock button kept on accidentally
Whether the lock button on your wall-mounted garage door opener is on by mistake, check if it’s the cause of your non-functioning remote. The remote may not function properly as a result of this.
Remedy: Deactivate the lock button if it is turned on.
Battery Contact Inspection:
- See if the metal parts inside the remote contacts are bent, especially if the remote fell.
- Good contact between the battery and metal parts of the battery holder is important.
- LED bulb interference with remote:
- LED light bulbs are one of the reasons remote not performing well. Remotes work on radio frequencies, and certain LED and CFL bulbs can emit radio frequency interference, reducing the remote’s range.
- Solution: For better performance, consider using higher-end LED bulbs with FCC certification to reduce interference issues. While they are a bit more expensive, averaging around $10 per bulb, they can help improve remote functionality.
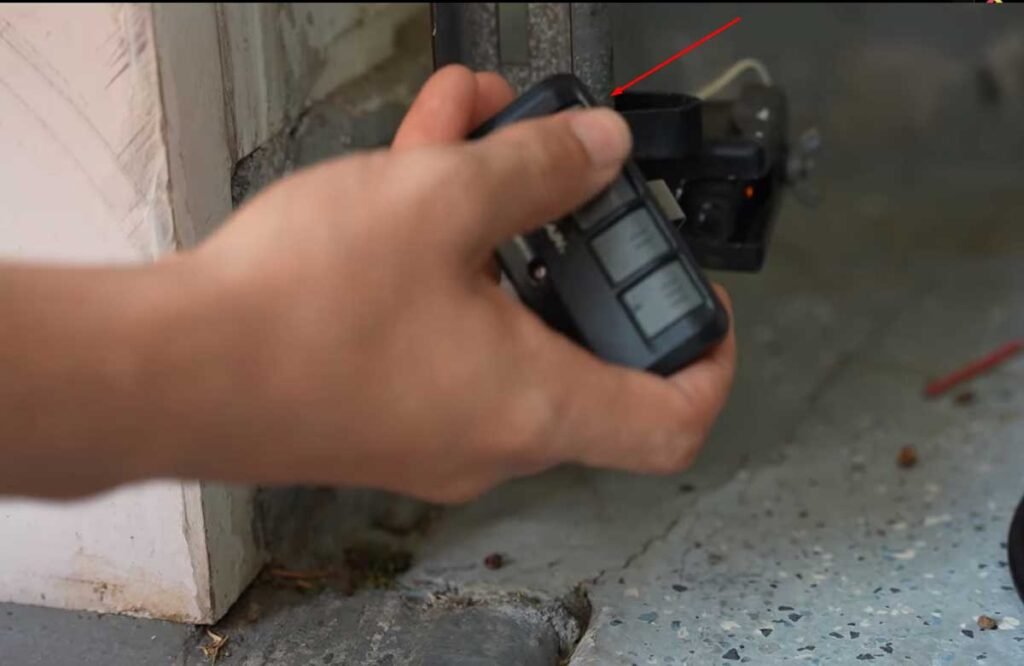
The antenna position setup:
Your GENIE garage door opener has an antena that reads signals from the remote, guiding the door to open. If this antenna is impaired or defective, or any dirt build up in it, it might struggle/block to receive the signal.
Sometimes the antenna can also become unaligned — a quick fix is to readjust it.
Solution: Ensure the antenna is properly aligned, unobstructed and free and has a free way to connect with the remote control.
Need reprogramming the remote to the powerhead
Reprogramming the remote to the powerhead is sometimes necessary to get it back functioning properly again. To reprogram what you have to do is-
- Keep the square button pressed down on the motor head. You will see a round blue LED light lit up. Then let the button go.
- The long purple LED button will begin flashing. (Note: If the blue light remains on, refer to the instructions for Intellicode III below.)
- During the flashing of the purple LED, keep both triangular buttons pressed down until the violet LED extinguishes. This erases the memory of the radio receiver.
- Then turn the long purple LED button on, hold the remote 4 or 5 feet away and press 3, 4 or 5 times, until the door activates. Your remote is now programmed
- Next, turn the long purple LED button on again, place the remote control four or five feet off and press three, four, or five times to cause the door to open. The remote is now reset and should be functioning properly.
GENIE Wall Control/Console Issues Troubleshooting
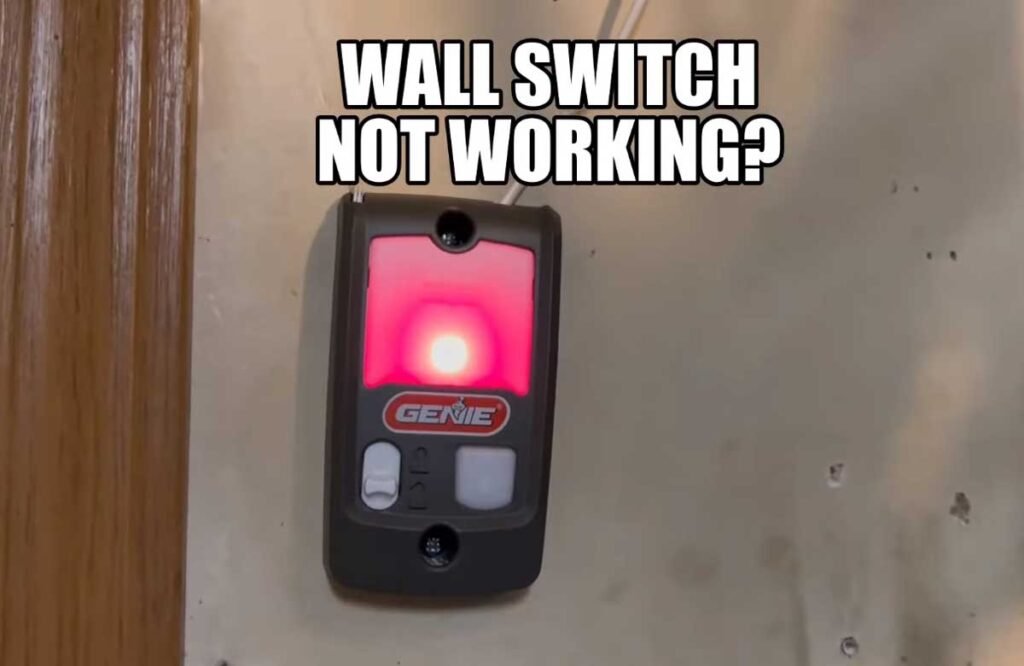
Here are the step by step Troubleshooting of Genie Wall Control or consol:
- Inspect LED light or electronic display on the wall control.
- If off, check the garage door opener motor unit for power.
- Press the Learn button on the motor unit; check for a lit light.
- If no power, reset house circuit breaker for garage door opener outlet.
- Test outlet functionality with a lamp or small appliance.
- If the outlet works, consider replacing the logic board with this video guide.
Dead Wall Control Unit:
- Ensure secure connection of wall control wires to the motor unit.
- Reconnect any loose wires; inspect visible wire path for damage.
- Replace damaged wire if needed.
Check LED light on motor unit for diagnostic code:
Three flashes on the older chain drive motor unit indicate a wall control wiring failure or a defective wall control.
If you have a belt drive or a newer chain drive garage door opener, the up-arrow flashes once before the down-arrow flashes three times to indicate the same problem.
Testing Single LED Light Wall Control:
- Remove wall control, disconnect wires, touch bare ends together.
- If the door moves, wiring is okay; replace the wall control.
- If the door doesn’t move, use a jumper wire to bypass existing wires.
- Garage door movement confirms a break in wall control wiring; replace defective wires.
- If the jumper wire doesn’t work, the issue likely lies with the Logic board, necessitating replacement.
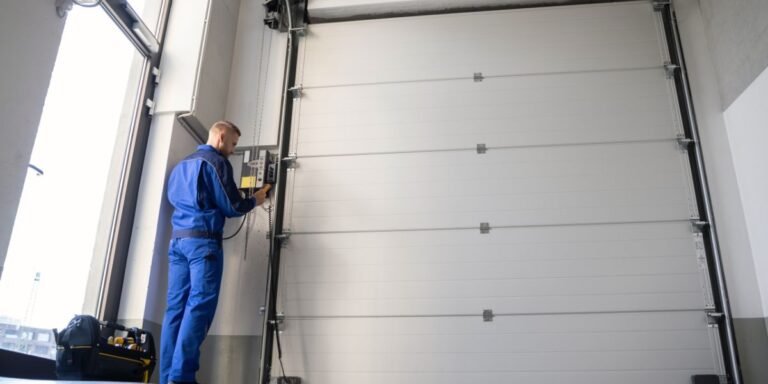
Genie garage door mechanism not working
If a garage door is not working correctly you have to check the mechanical system. Mechanical issues manifest as struggles, reverses, or loud noises during door opening. Before initiating any checks, it’s crucial to unplug the system for safety, considering the potential hazards associated with moving garage doors.
Door Balance Check:
For safety’s sake, firstly make sure the door is closed before checking door balance.Then release “the emergency release” by pulling on the handle attached to the trolley.Then you can move the door freely with your hands.
- Lift and Release Test:
- Lift the door about 3 to 4 feet and slowly let it go.
- If the door hangs and floats by itself, it is properly balanced.
- Imbalance Signs: If the door falls back down or falls to the ground, it is out of balance.
- Consistency Check: Verify the balance on both doors. A balanced door should suspend itself when gently released.
How to Proceed if the Balance Test on Your Door Is Not Passed
An imbalance door issue is most likely related to the spring setup. If your door does not pass the balance test, it is very complicated and dangerous to adjust the GENIE garage door springs without proper training. In such a situation, quickly contact a trusted garage door technician for assistance.
Spring system/setup check:
Garage door springs are crucial for your door’s smooth and safe operation. If these springs have issues, it can cause inconvenience, safety concerns, and potential door damage. Here are common problems:
- Broken Springs: Common issue due to limited lifespan; they may make the door difficult to open, close, or stop working. Dangerous;
- Solution: Professional replacement needed.
- Torsion Spring Issues: Mounted horizontally, these may wear, rust, or lack tension, causing difficulty in door movement. Dangerous when broken;
- Solution: Professional help recommended.
- Extension Spring Problems: Run along the sides and may overstretch or snap. Like torsion springs, broken ones can be dangerous.
- Solution: Require professional replacement.
- Rust and Corrosion: Exposure to elements makes springs prone to rust, weakening them.
- Solution: Regular maintenance and lubrication can prevent this.
- Imbalanced Springs: If one wears or breaks first, it creates imbalance, making the door uneven, hard to lift, and potentially dangerous.
- Solution: Replace both springs in this case.
- Poorly Adjusted Springs: Proper adjustment ensures smooth and safe door operation. Incorrect adjustments may lead to uneven door movement and operational issues.
- Solution: Professional help recommended.
- Worn or Damaged Cables: Cables connecting springs to the door can wear out, affecting spring function and creating safety hazards.
- Solution: Call on an expert to resolve this issue.
- DIY Installation and Repair Mistakes: Don’t attempt DIY spring work as it risks danger.
- Solution: Professional assistance is recommended for safety.
- Lack of Maintenance: Regular lubrication and inspection prevent spring problems from escalating.
- Age and Wear: Over time, all springs wear out, lose tension, and become prone to breaking.
- Solution: Replacement is necessary.
- Warning on Professional Assistance: Springs can be dangerous.There is a lot of stored energy in spring systems, if issues are found, seek professional help. Get a pro. Safety first–let pros handle the risks.
Check the pulleys
Pulleys as part of that system you want to give those a look and make sure nothing’s become twisted, nothing’s become detached or a cable hasn’t come out of a pulley or broken.
Check Roller and Track
1. Acknowledgment of Stored Energy:
- Recognize that garage door systems hold stored energy. So, don’t ignore the importance of taking caution when doing inspections.
2. Door and Track Alignment:
- ·Check the position of rollers within the tracks.
- ·Ensure there’s sufficient room for rollers to move freely.
- ·Maintain a decent, evenly spaced gap around the roller in the track.
3. Visual Inspection of Track Alignment:
- Stand back and visually assess the alignment of tracks relative to each other.
- Tracks in the door should be nice and parallel.
- Any major angles could cause the door to jam during operation.
4. Adjustment of Track Alignment:
- If tracks are out of alignment, adjust those using bolts on brackets that mount the tracks to the wall.
- Loosen the bolts enough to slide the bracket left and right along the slot.
- Ensure proper alignment to prevent door twisting during operation.
5. Individual Roller and Track Health Check:
- Examine rollers for any signs of being loose or crooked.
- Check for cleanliness and lubrication of rollers.
- Take care of excessive dirt to guarantee smooth roller action.
6. Track Transitions Alignment:
- Check the alignment of track transitions to ensure they are nice and aligned.
- Avoid large gaps between track sections for smooth door movement.
7. Cleaning and Lubrication Recommendations:
- Clean rollers using a brush or drying spray cleaner.
- Lubricate rollers with a recommended silicone spray after cleaning.
- Genie suggests cleaning and lubricating rollers approximately every month.
Ensure optimal condition of rollers and tracks
Minimize the risk of jams.
Enhance the overall performance of the garage door system.
Troubleshooting Genie Garage Door Drive System
Is your garage door chain moves but door not opening?
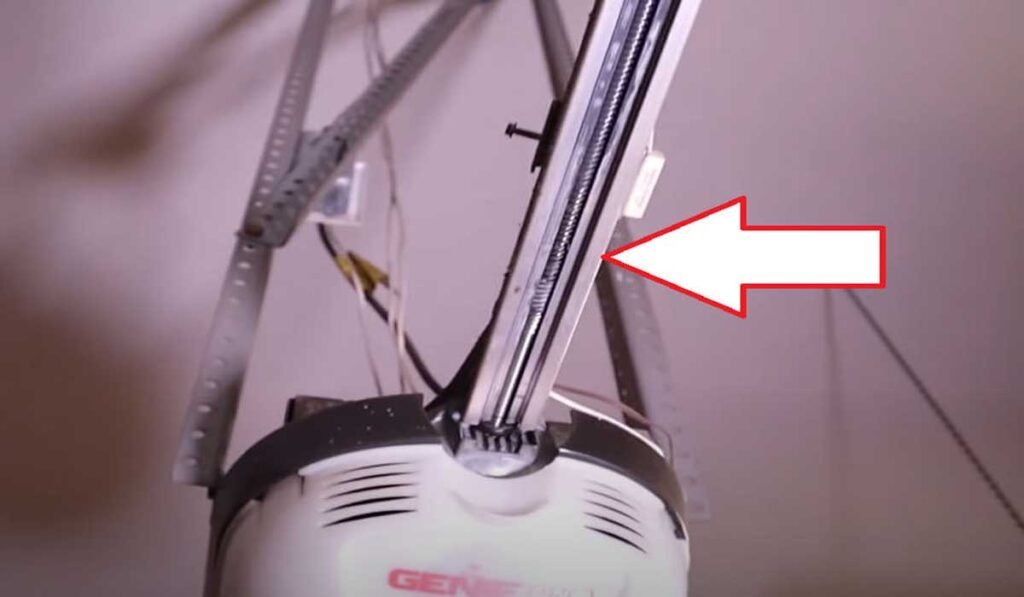
A garage door drive system is a mechanical or electrical device that opens and closes a garage door. There are three main types of garage door drive systems: chain drive, belt drive, and screw drive.
Identifying Your Drive System Type:
- Signs of Chain Issues:
Watch out for excessive noise, especially clanking, during door operation. If the chain is bouncing excessively, it may be too loose, causing it to hit the rail which is where the noise is coming from
- Checking Chain Tightness:
Examine the centre of the rail where the chain droops the most. Ideally, the chain should be about a quarter inch above the bottom of the rail. If it’s below this, the chain is too loose.
- Belt Tightness and Adjustment:
For belt-driven systems, check for loud gear noise during door opening/closing. Similar to chains, a loose belt can cause issues. Refer to your owner’s manual for proper tightness and adjustment.
- Caution on Over-Tightening:
While adjusting tightness, avoid over-tightening belts or chains, as it can apply excessive pressure on the system. This may lead to premature wear out of plastic gears and other components.
- Screw-Driven System Check:
If your garage door uses a screw-driven system, ensure that the screw is intact, without any breaks or cracks. Check for broken or detached couplers.
- Cleaning and Lubrication for Screw Systems:
If the screw hasn’t been cleaned recently, remove old lubricant and dirt accumulation. Apply new lubricant as recommended by the owner’s manual. Some systems, like Genie, suggest lithium grease over silicone spray.
- Maintenance Schedule for Screw Systems:
If you have a screw-driven system, consider cleaning and re-lubricating the screws annually. Follow the manufacturer’s recommendations, as in the case of Genie.
- Understanding Screw-Driven Operation:
For those unfamiliar with screw-driven systems, know that an electric motor attaches to a shaft. The shaft, housing a long screw, rotates when the garage door opener is activated. The rotating screw drives the trolley with corresponding threads.
By addressing these aspects of your garage door drive system, you can ensure smoother and quieter operation while extending the lifespan of the components.
Troubleshooting Garage Door Power/Electrical Issues
Check And Solve Power Failure:
- When you heat the button there is no clicking, humming, or buzzing.
- If all the lights in your garage door system are off – No lights in the system anywhere light up. No LEDs on Sensors, no LEDs in wall consoles, and no lights lighting up in the powerhead assembly might mean there’s no power reaching the system.
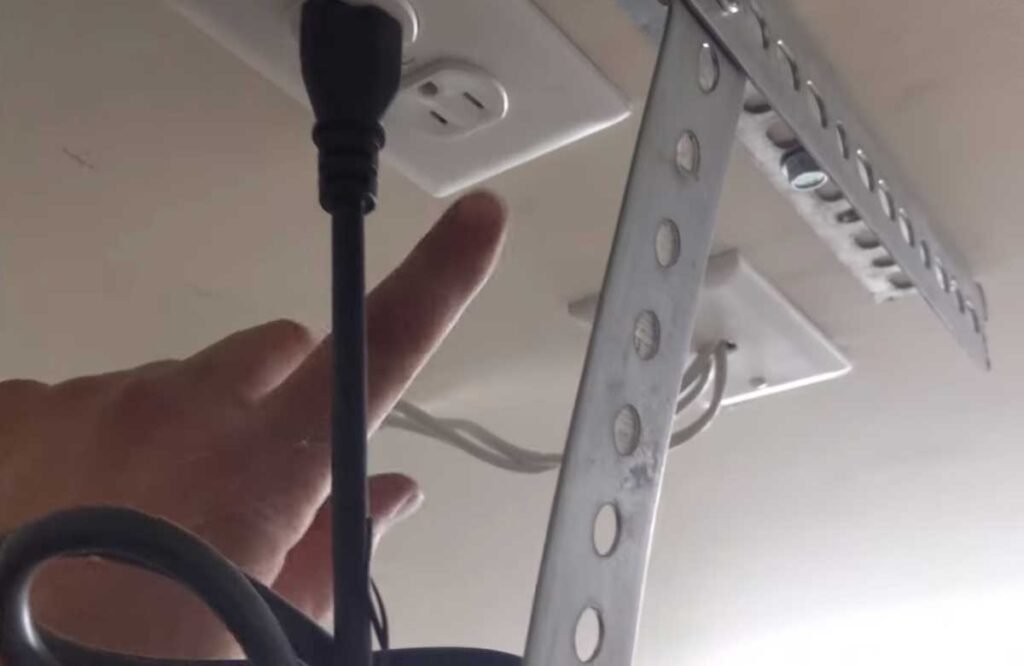
- Primary Power from Outlet : Plugged into an Outlet fitted somewhere near the Opener.
- Distribution through Wires: Running Down the rail, to Sensors, and Wall Consoles.
- Unplugged Cord: Check if the power cord is accidentally unplugged, a common and easily fixable issue.
- Faulty Outlet: Test the outlet by plugging in another device. You can use a working lamp and plug it into each socket. If the lamp works, your outlet is providing power. If the outlet is faulty, use an alternative until repairs are made.
- This easy check helps identify if there’s a wiring issue or a problem with a specific component. If the outlet is good, move on to checking other parts of the system.
- A fuse might have blown. Have your fuses reset by a qualified technician.
Breaker Inspection and solution
- Locate your breaker box (panel with switches) if there is no power to your outlet.
- Open it; there’s a list showing which breaker is for your garage.
- Check if the garage breaker is in the “off” position.
- Try switching it back to “on.”
- If breakers seem fine, resetting doesn’t work, and the outlet is still powerless, it’s time to call an electrician.
Check Internal Power Connections
- Check Power Connections Inside the Powerhead Assembly.
- Ensure the assembly is properly plugged in.
- Check for a status LED inside the power head assembly.
- Blinking LEDs Indicate Power to Boards.
- Blinking indicates a potential issue with power reaching the internal boards.
Check Terminal Issues
Ensure the system is unplugged before proceeding.
Locate the terminals (screw-on type in this case) that connect to sensors and wall consoles.
- Terminal Test:
- If any wire pops out easily, it indicates a loose connection.
- If a wire is loose, push it back in and tighten the terminal securely.
Troubleshooting Of Internal Wiring
If power issues persist, consider examining internal wiring and boards within the power head assembly.
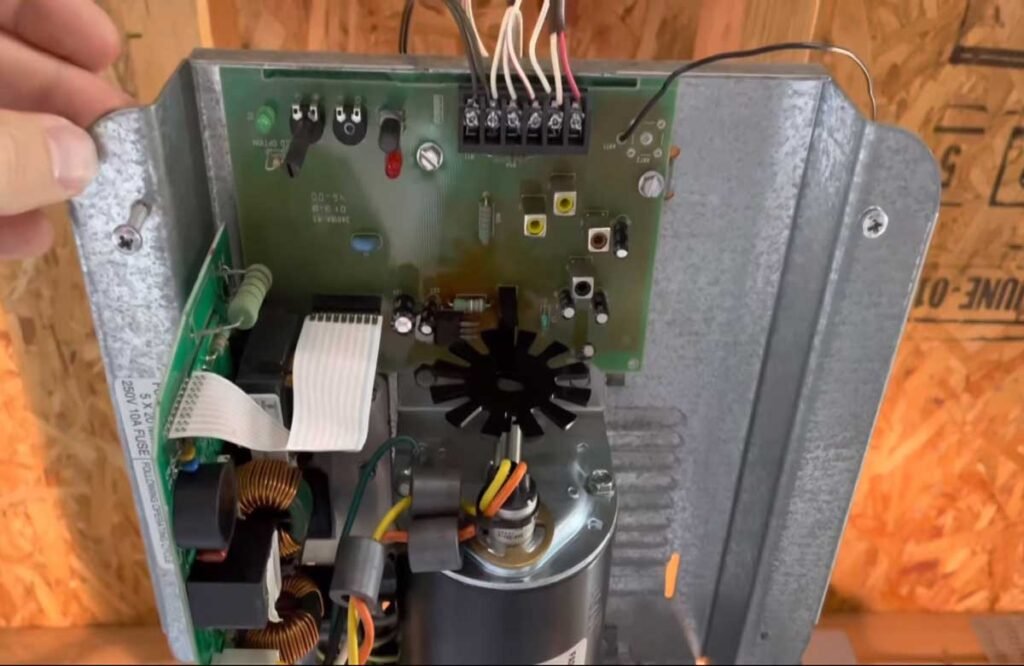
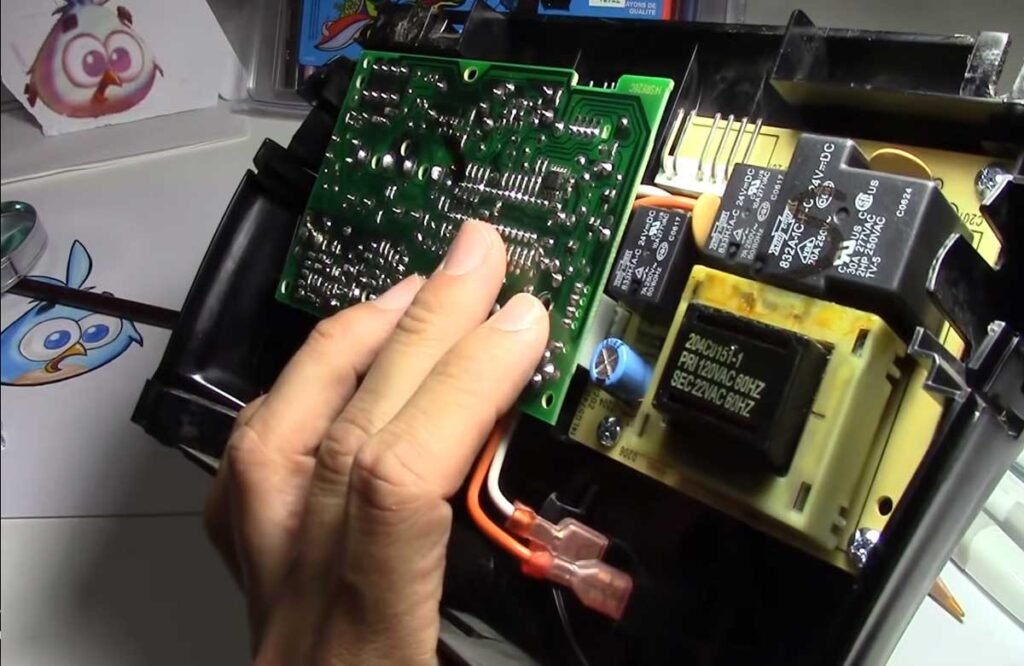
Access the Internal Components
Using a Phillips head screwdriver, open the housing to reveal the internal components.
Identify Components
Inside, locate the motor, motor control board, power distribution board, and potential capacitor (if applicable).
Inspect Wiring:
Examine wiring for signs of being loose, broken, or disconnected from the motor or boards. Check light sockets and fuses for any visible issues.
Check Motor And Boards:
- Remove Inner Cover: Locate Screws (Usually Three or Four).
- Inspect boards for loose soldering connections, cracks, or any visible damage.
- Check Motor, Motor Control Board, and Distribution Board.
- Look for Loose, Broken, or Detached Wires.
- Inspect Light Sockets and Fuses.
- Examine Boards for Soldering Issues or Cracks.
- Examine Capacitor:
- Check the capacitor (if there is any) for bulging or leaking. Refer to the owner’s manual for replacement information.
- Be cautious, as capacitors can hold a charge. Avoid contact with the fluid, and handle it with care.
Drive Mechanics Inspection:
- Check motor couplers, connections, and mounting.
- For belt or chain drives, inspect shaft gears for wear or breakage.
- Look for debris inside the housing.
Consider Component Replacement:
·If you find issues with critical components like boards or the motor, replacement may be necessary.
Note: Components can be expensive; weigh the cost against getting a new opener.
Minimize the risk of jams.
Enhance the overall performance of the garage door system.